Shortcuts you will need to know
Revit shortcuts enables Revit users save time (few seconds) when working and it saves the stress of searching for items to click on before launching a command.
Some shortcut commands can easily be found in the tooltips when you hover over the buttons on Revit. Examples are Walls, Windows etc.
Revit shortcuts are a little bit familiar with that of AutoCAD, although in AutoCAD, when typing a shortcut, you will have to press "Space" or "Enter" to execute a command. But on the otherhand, using Revit shortcuts does not require you to press "Space" or "Enter" key to execute a command, once you type a keystroke the command will automatically execute.
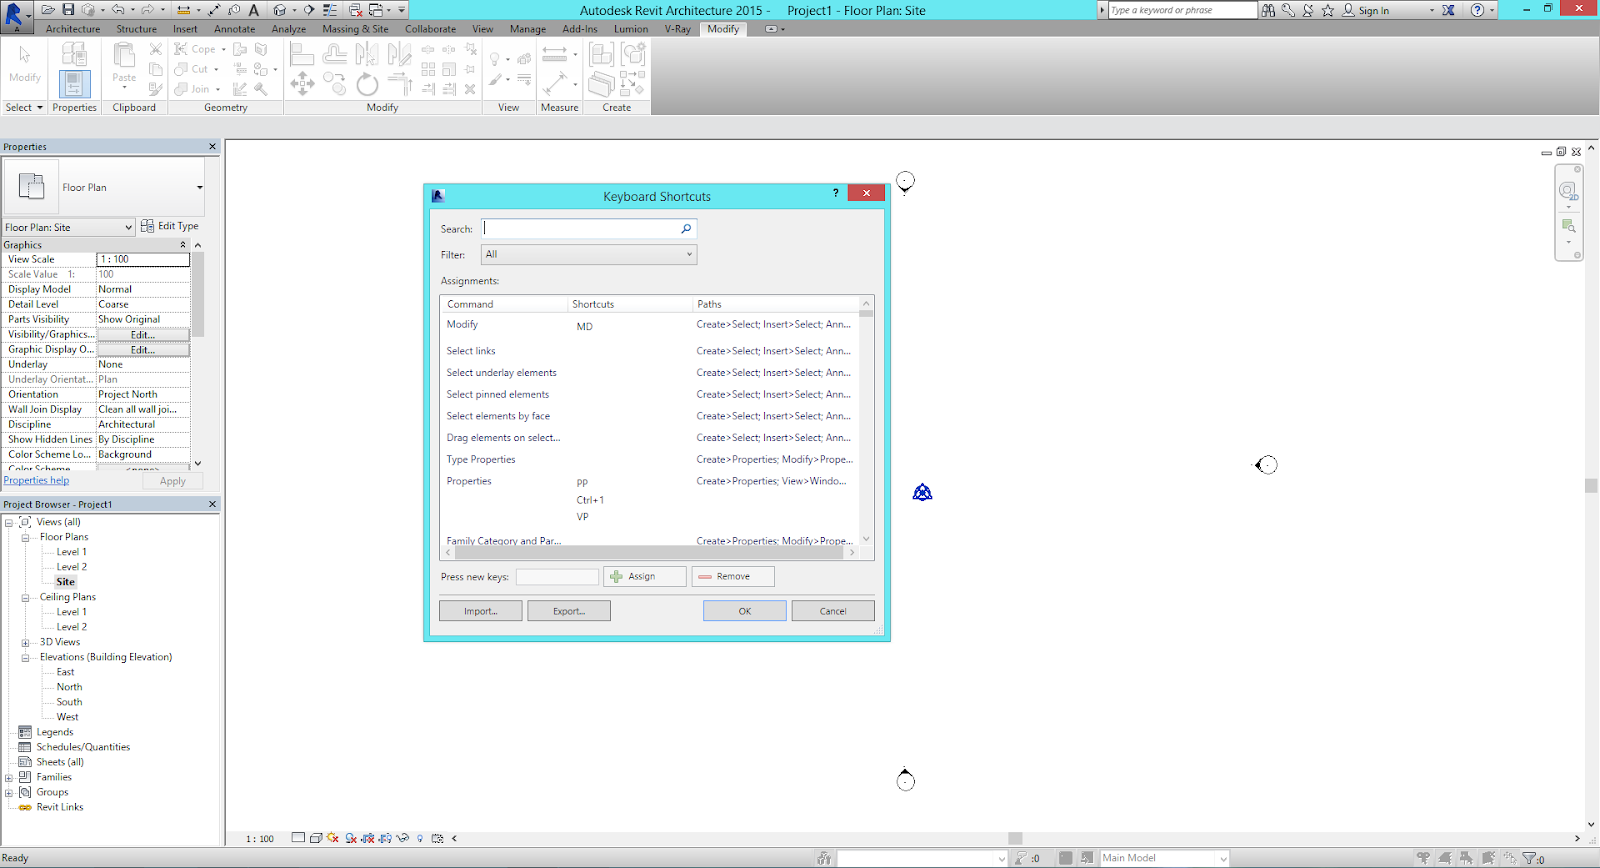
On Revit you can also create your own shortcut to execute a command.
The Shortcuts are shown below
UN- Units (Changing the units to millimeters, feet, inches etc.)
TR- Trim
SL- Split Line (This can divide a model or line into different sections)
WA- Wall (It will bring out different categories of walls; either exterior, interior or curtain walls)
WN- Window (When you want to place a window on a component)
DR- Door (When you want to place a door on a component)
HL- Hidden Line (Displays the model or image with all lines and edges except the surfaces that are blocked)
WF- Wireframe (Shows all hidden elements and components in the model)
SD- Shaded with edges
VV/VG- Visibility Graphics (It opens the Visiblity Graphics window and controls the visibility graphics of the model elements, datum elements and specific elements)
AL- Align (Click on an object and click on where you want the object to align with)
MV- Move (Select an object and move it where you want it to be placed)
CO/CC- Copy (Select an object, type CO or CC place it where you want it to be copied)
CM- Component (Either place a component or load a component)


So you have the list showing the basic shortcut commands. You will learn more Revit tips as you keep viewing my posts.
If there are any questions, please leave a comment!
Enjoy Revit! 👍
DI- Dimension (when you want to check the distance
in between a space or construction drawing and detailing)
DL- Detail Line (Drawing a line from one point to
another)
GR- Grid (Click anywhere to start drawing your grid
lines, drag and click to finish)
DM/MM- Mirror (DM is to draw a line where you want the
object to reflect on, while MM is picking an existing line where you want it to
reflect on)
AR- Array
RE- Scale
MA- Match Properties (When you type MA, select the
object and select a different object to have the property as the previous)
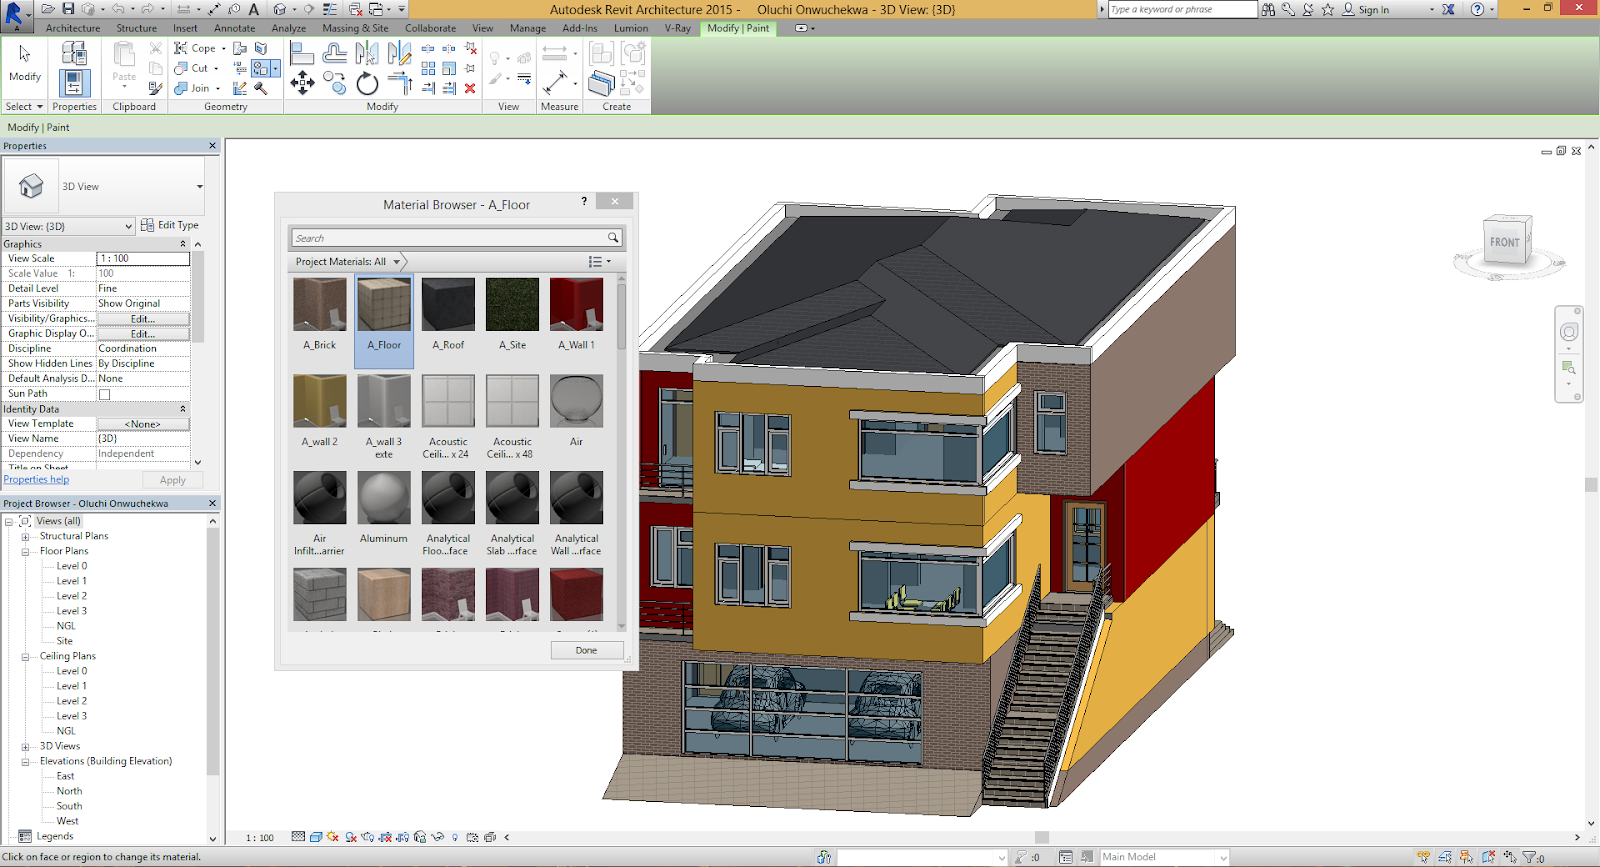
PT- Paint (On Paint you will access material
browser and paint the surfaces. Only the surfaces will change but the property
will not change)

RM- Room (Type RM and place it on a space bounded
by walls, it will give you the square area and perimeter of that space)
RT- Room Tag
RO- Rotate (Select an object, type RO and rotate it
to any angle of your choice)
SF- Split Face (Type SF, click on the face of the wall
on the 3d view, draw a line between the orange boundary lines and click ok)
TL- Thin Line
TX- Text Note
OF- Offset (Copies a selected element to a specific
distance, either vertically, horizontally or in different ways)
PN- Pin (Locks model element in place)
E+SPACE/EH- Hide Elements
KS- Keyboard Shortcut (It opens the Keyboard window
where you can edit and add your own shortcut to a command)

So you have the list showing the basic shortcut commands. You will learn more Revit tips as you keep viewing my posts.
If there are any questions, please leave a comment!
Enjoy Revit! 👍

Comments
Post a Comment